


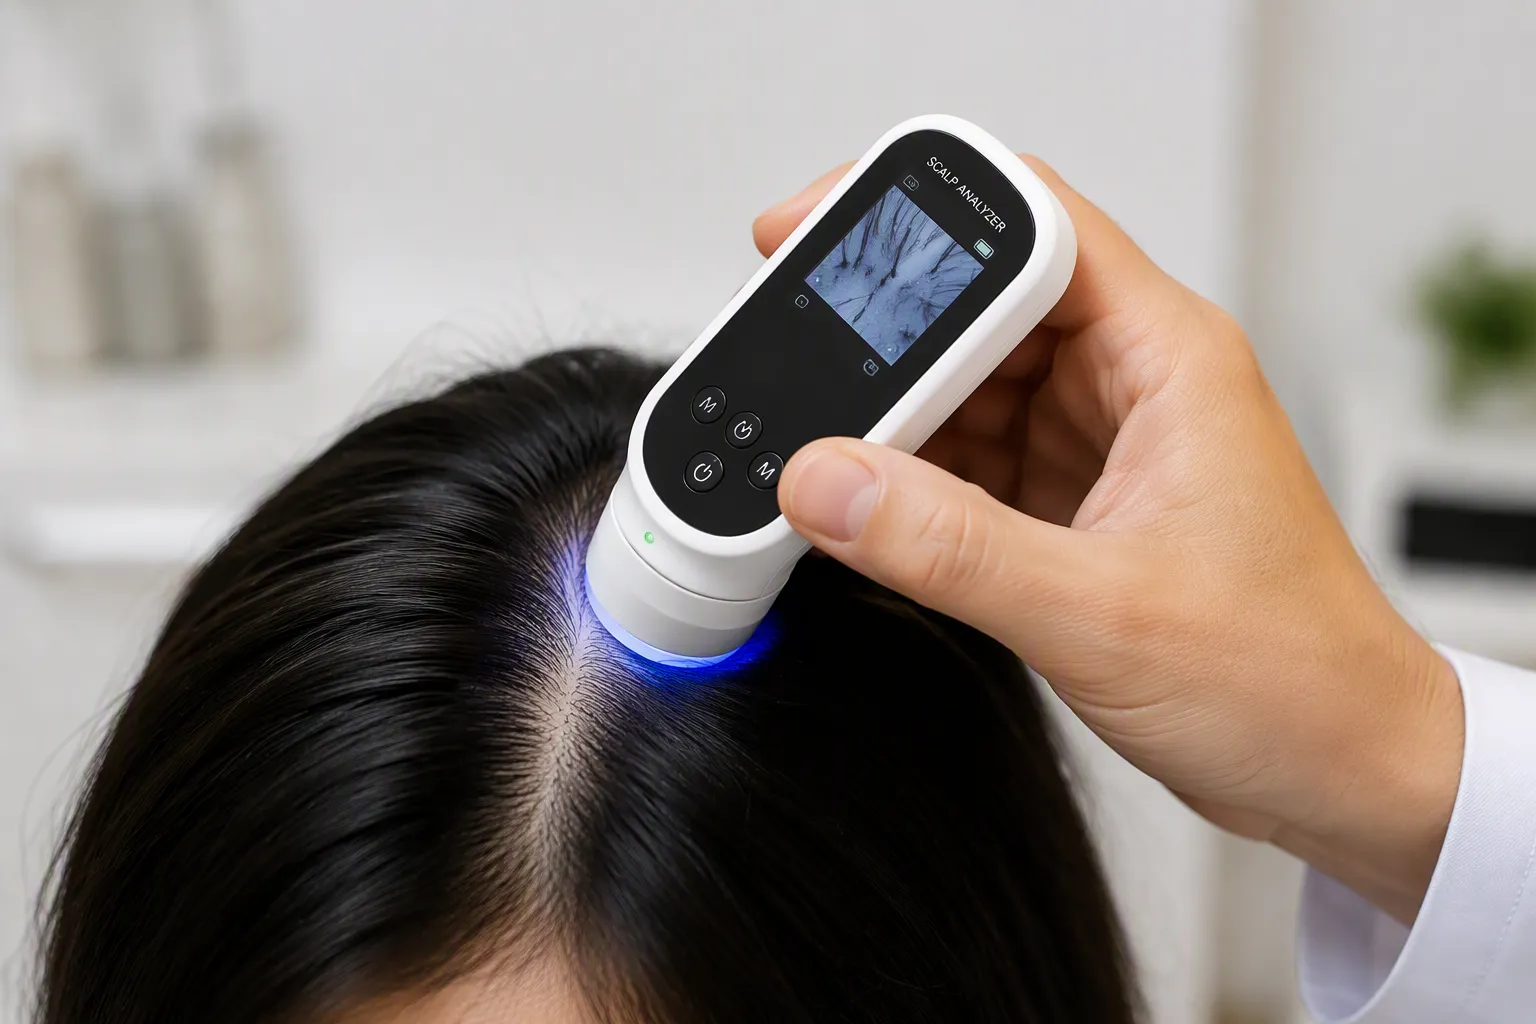
You want trustworthy insights about your scalp health. I understand that desire completely. Are you getting the most accurate readings from your Hair Scalp Analyzer? Using this device correctly involves more than snapping a photo. It requires a systematic approach: visual observation, gentle palpation, thoughtful questioning, careful interpretation, and finally, a logical treatment strategy. This guide walks you through each step so you can make confident, informed hair care decisions.
Key Takeaways
●Prepare your scalp with clean, dry, and detangled hair for accurate readings.
●Use consistent lighting, angles, and settings to track scalp health over time.
●Avoid common mistakes like dragging the device or using it on wet hair.
Preparing Your Hair Scalp Analyzer
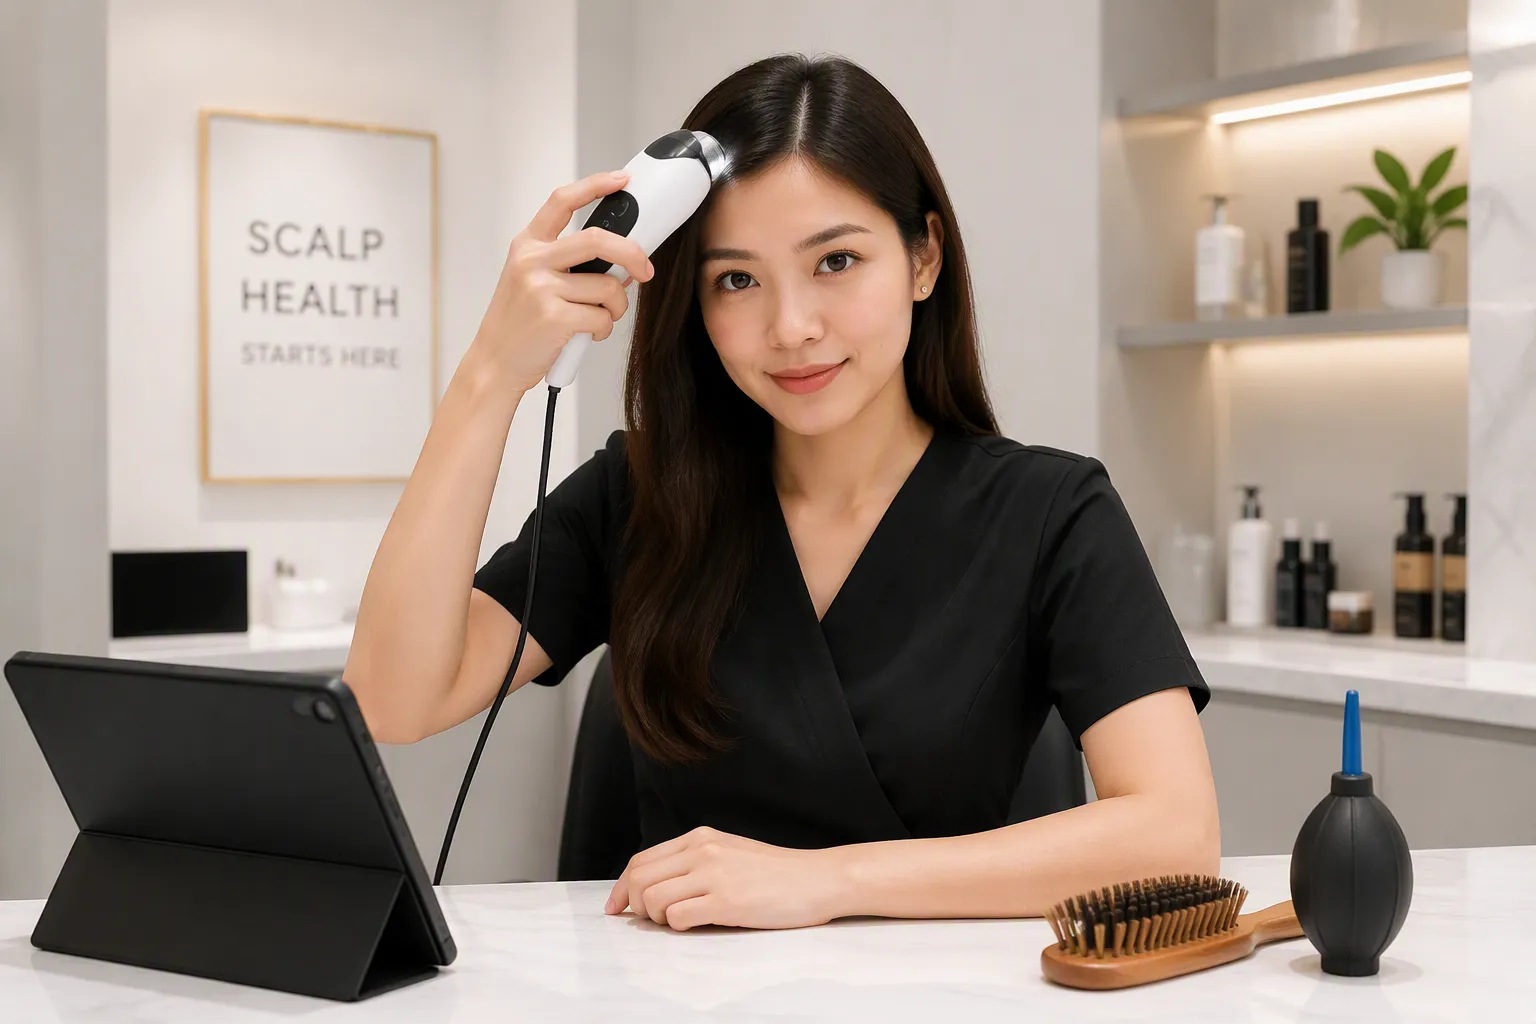
Proper preparation forms the foundation for every accurate reading. I cannot overstate this point. When I rush through preparation, my results become unreliable, and I end up questioning every image I capture. Taking extra time before analysis saves me from hours of confusion afterward. Let me walk you through the essential steps I follow every time.
Scalp and Hair Preparation
I always start with clean, dry, and detangled hair. This single step determines the quality of everything that follows. When I arrive at analysis with product buildup or loose flakes, those particles scatter light and obscure the follicles I need to examine.
Critical preparation step: Arrive with clean, dry, detangled hair. Shampoo the day before if possible. Avoid heavy styling products (hairspray, powders, fibers) on the day of the visit, as these can obscure the scalp and hair follicles during examination, making a thorough scalp check harder.
I brush my hair thoroughly before beginning. This action removes tangles and dislodges loose debris that might otherwise cling to the lens. For stubborn particles that resist brushing, I gently sweep with a clean camel hair brush. This dislodges debris from the optical surface, preventing it from scattering light or obscuring my view. I follow with another round of air to remove anything the brush loosened.
Next, I part my hair in clean sections to expose the scalp. The parting technique matters more than most people realize. I choose my method based on the area I need to examine:
●Horizontal parting works best for the front and mid-scalp areas. It offers ease of execution but may miss spiral crown regions.
●Vertical parting suits the crown and vertex. It provides better control over cowlicks and spiral growth patterns, though it requires stronger clips to hold thick hair.
●Grid method serves very dense hair well. It ensures maximum precision and systematic coverage, though it takes more time.
●Freehand parting works only for low-density thick strands. It moves quickly but carries a risk of uneven coverage.
Across all techniques, I keep sections narrow at 1 to 1.5 centimeters. I use a tail comb to draw precise lines, ensuring clear scalp exposure. I also drape a towel and cape around my shoulders to protect clothing and keep loose strands in place.
Device Setup and Calibration
My Hair Scalp Analyzer needs attention before I touch it to my scalp. I check the lens first. A smudged lens produces blurry images that lead me to false conclusions. I wipe it gently with a microfiber cloth, then inspect it under bright light for any remaining streaks.
I ensure the device has a full charge or remains connected to its power source. A dying battery can cause inconsistent lighting during capture. I also review the manufacturer’s instructions for any specific calibration steps. Some models require a white balance reset or a focus adjustment before first use.
Finally, I position myself in a well-lit area. Natural daylight works best, but a bright LED lamp also suffices. Consistent lighting across sessions helps me compare images accurately over time. I avoid direct sunlight, which creates harsh shadows and glare on the scalp surface.
With preparation complete, I move confidently into the capture phase, knowing my equipment and my scalp are both ready for accurate analysis.
Step-by-Step Usage Guide
This section forms the heart of the entire process. I have prepared my scalp and calibrated my device. Now I move into the actual capture phase. Follow these steps carefully, and you will produce reliable images every time.
Positioning the Analyzer
I begin by selecting the parted section I prepared earlier. I hold the Hair Scalp Analyzer firmly but comfortably in my dominant hand. I position the sensor directly over the exposed scalp area.
Primary instruction: Apply light pressure until the camera focuses clearly on the skin surface. You must apply gentle pressure without dragging the probe across sensitive skin.
I lower the device slowly. I let the sensor make contact with the scalp. I do not press hard. Excessive pressure flattens the skin and distorts the follicle openings. I wait for the autofocus indicator to confirm sharp focus. I hold my breath during this moment to minimize movement.
I keep my elbow supported on a table or against my body. This stabilizes my hand and prevents micro-shakes. I also ensure the device sits perpendicular to the scalp surface. A tilted angle produces misleading images.
Capturing and Interpreting Images
Once I see a clear, focused image on the screen, I press the capture button. I hold still for a moment. Then I lift the device straight up. I never drag it across the scalp. Dragging smears oils and distorts the image.
I review the captured image immediately. I look for several key indicators:
●Hair follicle density – I count the number of visible follicles per square centimeter. Sparse areas may indicate thinning.
●Scalp color – Healthy scalp appears uniform and slightly pink. Redness or paleness signals potential issues.
●Signs of inflammation – I watch for redness, swelling, and micro-irritations on the scalp. The high-resolution imaging captures these visual signs clearly. Early identification allows me to apply targeted care plans to reduce discomfort and prevent further scalp damage such as dandruff or itching.
●Buildup – I check for white or yellowish flakes that indicate product residue or dead skin cells.
I capture multiple images from different parted sections. I compare them side by side. Consistency across images confirms accurate readings.
A professional analysis may also include a porosity test to assess moisture retention. This test evaluates the integrity of the hair cuticle and its ability to absorb and retain water, products, and treatments. The test helps identify the extent of cuticle damage caused by mechanical stress, chemical treatments, or UV radiation. By determining whether hair is low, normal, or high porosity, I can predict how the hair will react to chemical processes. High porosity hair absorbs colorants faster, leading to unpredictable results. Low porosity hair resists chemical treatments. This diagnostic information proves crucial for selecting appropriate treatments and preventing further damage.
I also remind myself of common positioning errors that ruin readings. Wet hair causes clumping, exposing more scalp and making density appear lower than actual. Product in hair alters apparent density. Inconsistent lighting makes the same density look dramatically different. Even a 10-degree angle shift changes how the hairline appears. I always use landmarks like nose tip and ear position to replicate angles. I never rush. A 15-minute baseline session sets the standard for years of tracking.
My Hair Scalp Analyzer becomes a reliable diagnostic tool when I follow this process consistently. Each session builds on the last, giving me a clear picture of my scalp health over time.
Common Mistakes to Avoid
Even with perfect preparation, small errors can ruin your readings. I have made every mistake below at least once. Learning to spot these pitfalls will save you from misleading data and wasted effort.
Frequent Usage Errors
The most common error I see involves dragging the lens across the scalp. People slide the device from one section to another, smearing oils and distorting the image. I always lift straight up after each capture. This simple habit preserves image clarity.
Another frequent mistake is using the device on wet hair without checking the instructions. Wet strands clump together, exposing more scalp than usual. This makes your density appear artificially low. I always confirm my device supports wet analysis before attempting it.
Failing to part the hair adequately creates another problem. If I leave strands covering the target area, the sensor captures hair instead of scalp. I now use a tail comb to create clean, narrow sections every time. I also clean the lens between uses. A smudged lens produces blurry images that lead to false conclusions about your scalp condition.
Ensuring Consistent Results
Consistency transforms random snapshots into meaningful data. I use the same settings and capture angles for every session. This approach follows validated dermatology practice. Sinclair et al. (2004) validated center-part width as a reliable proxy for follicular density in a study of 400 women. The same principle applies to self-tracking: a consistent part line, photographed under consistent lighting, gives a repeatable measurement.
I mark my floor with tape to stand the same distance each time. I disable zoom and use fixed focal length. I capture six global views and two to three target views at exactly the same scalp spots. I brush my hair the same way each session, using the same comb and part direction.
Treatment tracking: Log minoxidil, finasteride and more with daily reminders, and correlate them to your score.
I also review my health, lifestyle, and hair history alongside the images. This holistic approach turns raw data into actionable intelligence. My Hair Scalp Analyzer gives me the visual evidence, but my personal context explains the “why” behind changes. Together, they guide smarter hair care decisions.
Thorough preparation, gentle positioning, and careful interpretation form the foundation of reliable readings. Avoiding common mistakes matters just as much as following correct steps. Practice builds confidence, making scalp analysis a regular habit.
Regular evaluations maintain optimized scalp health. Follow-up imaging catches seasonal and hormonal changes early, preventing problems before they develop.
| Category | Key Takeaway |
|---|---|
| Preparation | Clean scalp, remove styling products |
| Device Setup | Standardize lighting, distance, and capture angles |
| Interpretation | Use visual analysis, palpation, and questioning |
Take control of your hair health through informed, accurate self-assessment.
FAQ
How do I clean the lens of my hair scalp analyzer?
I wipe the lens gently with a microfiber cloth before each use. I inspect it under bright light for any remaining streaks.
Why does lighting matter for scalp analysis?
I position myself in a well-lit area. Consistent lighting across sessions helps me compare images accurately over time.
How many images should I capture per session?
I capture six global views and two to three target views at the same scalp spots. This ensures reliability.
Post time: Aug-27-2026


